Key Takeaways
- Clear the room of all furniture, cover the floors with dust sheets, and repair cracks so the plaster sticks well and the job goes smoothly.
- Utilise a top-quality toolkit including a plastering trowel, hawk, mixing bucket, float and safety gear to maximise finish and longevity. Consider nice-to-haves like corner trowels and a drill mixer to save time.
- Mix plaster to a thick custard consistency, work in manageable batches, and follow the pm stages of the first coat, flattening and final polish while keeping an eye on setting times.
- Be sure to read the wall first for background type and suction. Apply diluted PVA or bonding coats as necessary. Select plasters appropriate for UK brickwork, block or plasterboard.
- Get timing and trowel practice nailed. Hold your trowel at the correct angle, using sweeping strokes and a steady rhythm to avoid cracks, blisters and grinning.
- Let it cure thoroughly in a warm, ventilated room prior to decorating. Use a mist coat to prime and any touch-ups once dry for a durable, professional finish.
A plastering job involves preparing surfaces, applying layers of plaster, and finishing to a smooth or textured surface. In the UK context, this starts with clearing dust and loose material, then patching cracks or damp spots and putting on corner beads. Tradesmen mix plaster to a workable consistency and apply a scratch coat, float coat and then a thin finishing coat, allowing set and drying time between coats. Sanding and touches follow and indeed came prior to ventilation and moisture control in British homes. Standard equipment includes a hawk, trowel, ruler and sandpaper. The head body talks you through every step in layman’s terms, typical timescales and handy tips for householders.
Your Plastering Toolkit
A concise tool and material list accelerates the plastering process and reduces errors. Here is a handy step guide to what to bring for successful plastering on UK walls and ceilings.
The Essentials
- Plastering trowel (stainless steel, comfortable handle, for example, Nela plastering trowel)
- Hawk and plasterers float
- Mixing bucket to take the mix (Gorilla Mixing Bucket mentioned) and a bucket scoop or small trowel.
- Power mixer or mixer drill with paddle attachment, or a mixing board and tools.
- Clean water and measuring container
- Sturdy step-up or ladder with stable feet
- Dust sheets, masking tape, paint scraper and brushes
- Adhesive or PVA and appropriate plaster for background, gypsum for skimming and cement for wet rooms.
Using a plastering trowel for applying and smoothing plaster is essential for achieving a professional finish. Hold it at around 10 to 15 degrees for a smooth wall. Employ the bucket scoop to fill the trowel and a damp brush to clean edges, ensuring good results in your home renovation project.
The Nice-to-Haves
A lot of corner trowels, sponge floats and spray bottles to get in those tight joints and finish,” Driscoll adds. A big stiff brush is handy for dust clearance prior to starting. A little paintbrush assists around skirtings and window reveals.
Adhesive fibreglass mesh tape or paper tape reinforces board joints to prevent cracking. A mixer paddle for the drill produces lump-free mixes in no time, minimising effort in bigger rooms. Those extras make hard areas easy and finishing quicker.
Material Choices
| Type | Use | Benefit |
|---|---|---|
| Multi-finish gypsum | Internal skims | Smooth, easy to sand |
| Bonding coat | Uneven backgrounds | Improves adhesion |
| Cement-based | Bathrooms/external | Water resistant |
| Finishing plaster | Final thin coats | Fine surface for paint |
Choose the correct primer or PVA to regulate suction on highly porous brick or blockwork so plaster doesn’t dry too quickly. Fillers first. To repair cracks ahead of plastering, small cracks require a setting filler complemented with a backing repair for larger gaps. Purchase additional bags to compensate for waste and touching up.
Having the right kit improves each step: prep, mix, apply, finish and clean. Safety kit such as gloves, dust sheets and goggles is vital.
The Plastering Job Unfolded
A successful plastering process breaks down into discrete stages that build on one another: preparation, mixing plaster, a scratch or first coat, a brown coat where used, finish coats, and final polishing, followed by curing and inspection. This step guide minimizes mistakes and provides a polished surface as a permanent end result. Knowing what happens at each stage means both novices and pros can achieve a silky, long-lasting finish.
1. The Preparation
Move all the furniture out and cover the floors with dust sheets. Strip old wallpaper and any flaking material, sweep or vacuum dust, and wipe the walls with a damp cloth where necessary.
Fill cracks and holes, let it dry, and sand back high spots. Tape internal corners and joints with mesh tape to prevent cracks from forming later.
On porous surfaces, use a weak PVA bonding coat to regulate suction. This aids adhesion and prevents the plaster drying too quickly, particularly on old lime plaster or new plasterboard.
2. The Mixing Ritual
Measure plaster and clean cold water precisely until you’ve got a thick custard, not runny. Mix like I showed you, using a mixer drill or a stick until lumps and air pockets disappear.
Mix only as much as can be used in the working time. Smaller mixes cut down on waste and give a better finish.” Wash out mixing tools immediately to avoid dried plaster spoiling later mixes.
3. The First Coat
Smooth the first coat on thickly from the top down with wide squeegee-like strokes. The first or scratch coat gives the key base and should be about 2mm for the finish coat, although first coats can be thicker dependent on substrate.
Work into corners and edges, fill gaps and maintain an even thickness. ‘Allow the coat to firm to a tacky condition prior to the next coat, usually overnight or longer in cold and damp conditions).
4. The Flattening
Run a flat trowel in long overlapping passes to smooth trowel marks and ridges. Pay attention to internal corners and edges. These can easily be skimped on for rushed jobs and will later crack.
Scrape off any excess plaster and work the material into low spots to level the wall. Re-flatten until level shortly before the set is complete.
5. The Final Polish
Lightly mist if necessary or dampen hessian in dry spells to help curing. Use a smooth, flat trowel to polish, going systematically across the wall for an even finish.
Look for hollows, ridges and trowel lines. Rub down immediately. Leave to cure well. Cement plasters require up to 28 days before they can be painted with impermeable coatings.
Reading the Wall
Reading the wall is the first practical step of any plastering process. It involves a careful survey of the surface to notice cracks, holes, and uneven wall areas, which can impact how plaster is applied. This short study determines the choice of materials and preparation required for a successful plastering project.
Understanding Suction
| Background type | Typical suction behaviour | Implication for plastering |
|---|---|---|
| Solid brick (old) | Moderate to high | May need dampening; quick set plaster risks skinning |
| Concrete block | Low to moderate | Often needs primer or dilute PVA to reduce suction |
| Plasterboard | Low suction | Requires priming; skim coat bonds better with taped joints |
| Old hard plaster | Variable | Test area first; may be sealed or flaky |
Suction involves dampening a small area and timing how long it takes to absorb. For a successful plastering process on very porous brick, apply a couple of coats of diluted PVA with a ratio of about one part PVA to four parts water and let it tack. Quick suction can dry the plaster too quickly, leading to cracks and a poor finish. Instead, slow suction or sealed surfaces may require bonding plaster for a firmer key. It's crucial to adjust the mix and speed of application based on the wall surface to achieve the best results.
Dealing with Backgrounds
Begin by assessing the background of your wall, whether it's brick, block, plasterboard, or damaged plaster, and order the appropriate materials for your renovation project. For plasterboard, tape and set joints, then prime with PVA for a professional finish. If you're dealing with low-suction concrete, opt for bonding plaster. It's essential to clear away loose material and dust with a wire brush or scraper, as dirty dust can greatly reduce adhesion. Addressing holes and cracks is crucial; deepen narrow cracks slightly, fill them with setting plaster, and allow to cure before applying the final steps.
Old vs. New Surfaces
Old plaster often requires delicate crack-filling and consolidation with an adhesive, along with stripping off any peeling paint or wallpaper paste. For new plasterboard, a step guide includes taped joints, a PVA primer, and a smooth skim for a professional finish. Painted or papered walls demand more scraping and cleaning. Skilled plasterers understand the plastering process, adjusting their technique to ensure a polished surface on uneven old plaster and applying stronger key coats on low-suction new backgrounds.
The Plasterer's Feel
A plasterer’s feel captures the necessary sensitivity for working with plaster, crucial for a successful plastering process. It’s the instinct that allows you to gauge how sticky the mix is, how hard it’s going to set, and when to push or pull the trowel. This understanding demystifies the feel into timing, tool touch, and rhythm, guiding us on the essential steps for plastering in London or southern builds.
Timing is Everything
Watch for setting time from when water touches powder during the plastering process. Little variations of temperature or moisture in the British home – a nippy north room or a dank Victorian cellar – will slow the set. A warm loft will speed it up. Work through scratch coats, floating, and finishing passes to achieve a successful plastering result, as the plaster has just enough tack. Too soon and the layers mix inelegantly; too late and adhesion is lost. Plan the day so coats dry between passes. For multi-coat jobs, allow several hours and consider mild heat or ventilation in winter to keep progress steady. Use a simple feel test: press with the fingertip to check tackiness before applying the next sweep.
The Trowel's Language
To achieve a professional finish during the plastering process, keep the trowel tilted at a shallow 10 to 15-degree angle to spread without scooping. A flatter angle helps in distributing translucent pinches, while an upright angle presses on the screen and leaves furrows. Use long, sweeping, overlapping strokes to blend new plaster into the last pass, and if lines show, apply a skim across that strip before it sets. Cleaning the blade is essential, as dried bits can scratch the surface and spoil the finished wall.
Developing Rhythm
Establish a rhythm for trowelling, skimming, and burnishing during the plastering process so that each motion blends seamlessly into the next. Coordinate your hands: one loads the hawk while the other moves the trowel, then switch to a polishing motion without pausing. To ensure a professional finish, practice on boards to develop muscle memory. Expect patience, as mastering the pressure that smooths without dragging takes weeks of conscious practice, observing how plaster responds and adjusting for room conditions.
Common Plastering Pitfalls
Common plastering mistakes often arise from bad preparation, poor timing, or hasty technique. To achieve a successful plastering process, follow this step guide to avoid common plastering issues.
- Insufficient surface preparation involves removing loose material, applying scrim tape to cracks and applying PVA to control suction.
- Using outdated plaster: discard bags past their shelf life. New mixes set and finish consistently.
- Inadequate mixing: Mix for at least 2 minutes to avoid lumps and weak patches.
- Applying too much plaster: use thin coats. Avoid thick fills that sag or crack.
- Not allowing plaster to dry: Allow one to three weeks to dry fully before decorating.
- Failing to clean tools: Wash tools regularly to prevent hardening and waste.
- Not wearing protective gear: Use masks and gloves to limit dust inhalation and skin contact.
- Rushing the job: Poor timing causes many of the faults above. Work in stages.
Avoiding Cracks
Cracks all come from movement, shrinkage, or uneven suction. Proper surface prep is essential in the plastering process: remove crumbly plaster, scrim tape open cracks, and seal very porous backgrounds with PVA to even out suction. Use thin, even coats of plaster instead of one thick layer to achieve a professional finish. Thin coats dry evenly and shrink less. Allow each coat to go off before applying the next to avoid concentrating pressure in one layer. Use mesh tape or corner beads to reinforce corners and joints, particularly where plasterboard meets masonry or around door openings. Ensure that your plaster mix is fresh and mixed for at least two minutes, as weak mixes are more brittle.
Preventing Grinning
Grinning is the appearance of joints, screws, or old wallpaper outlines coming through the finish. To avoid this issue during the plastering process, fill and tape over screw heads and joints before applying a uniform base coat to disguise patterns. Occasionally, a fine skim over a keyed base is most effective for achieving a smooth wall. Use enough plaster; if you over apply, it will slump and uncover textures beneath. Check the walls in good angled light before the plaster sets to catch any signs of grinning early.
Tackling Blisters
Blisters are trapped air or weak adhesion points that can arise during the plastering process. To achieve a professional finish, steer clear of over-trowelling or adding water to setting plaster, as these can entomb air and disrupt adhesion. Maintaining dust and grease-free surfaces is essential for a good plaster bond. Mix to the right consistency, and avoid applying heavy trowel pressure that pushes out paste and leaves gaps, ensuring a smooth wall surface.
After the Trowel
Once the last coat has been applied and smoothed, attention turns to protecting and finishing touches for a professional finish. The top coat, typically around 1/8 inch thick, must be troweled and teased to achieve a smooth wall with a slightly polished finish. Good technique, stiff pressure, and long strokes while keeping the leading edge of the trowel 10 to 15 millimeters under will help eliminate ridges and ensure a flat surface. Allow it to dry before proceeding with the next steps.
The Curing Process
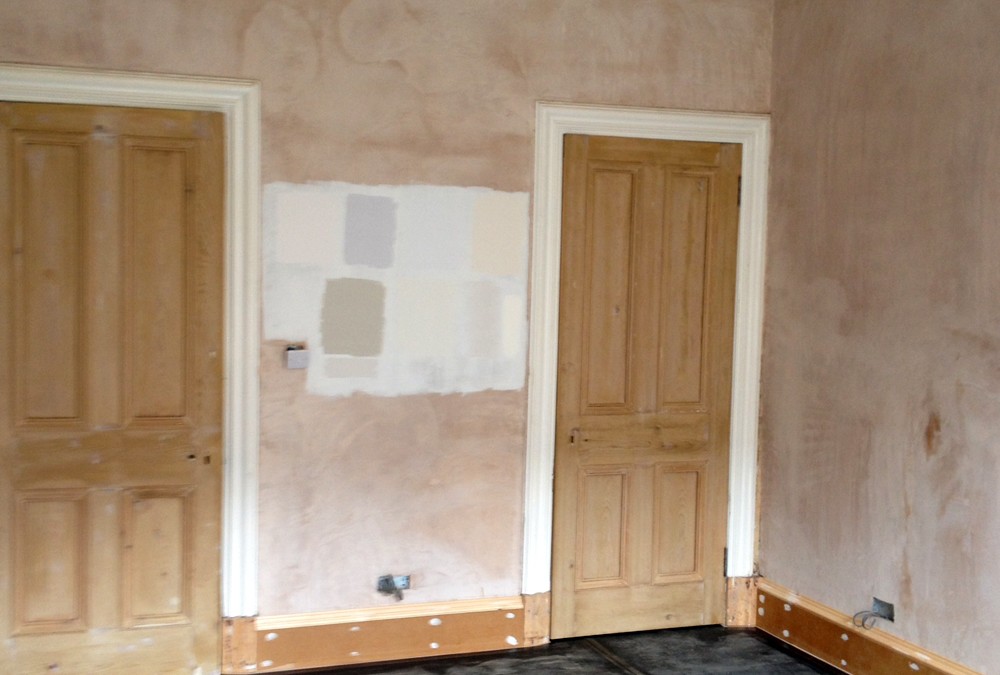
Create a simple checklist for your home renovation: keep the room warm, ventilate gently, avoid sudden drafts, and protect the wall from knocks and dust. A colour change is a helpful step guide. New plaster darkens when wet and lightens to a pale, almost pink or pale grey as it cures. Thump walls daily for new hairline cracks or blemishes; small faults can be filled with a fine filler once the plaster has set. Keep trade dust at bay using dust sheets and cordon off the space to protect against accidental scuffs from tools or moving furniture. Drying time will vary from a couple of hours to overnight, depending on thickness and conditions. Thicker patches will take longer.
Preparing for Paint
Leave the plaster to cure completely and it will come up as that pale pink before any painting or papering. Start with a mist coat: dilute ordinary emulsion with water, commonly one part paint to four parts water, and apply evenly with a large brush or roller to seal the surface and aid adhesion. Use lots of light, even strokes and avoid heavy build-up to peel off later; a big roller helps mend the mist coat evenly. Once the mist coat has dried, check the wall for imperfections that have been missed. Sand lightly where necessary and touch in small defects with filler, then sand again. Final decoration, either two coats of undiluted emulsion or wallpapering, comes only once the surface is sealed, dry and dust-free.
Maintenance after the trowel keeps the finish looking good for years: avoid pointy bangs, dust lightly with a clean cloth, and chip away at them early.
Conclusion
Plastering is a process in distinct stages. Prepare the room, prepare the wall, prepare the plaster, apply coats, float and finish. Every step connects to the one before it. Good preparation saves time and waste. With a steady hand, the right tools provide a flat, durable surface. Small repairs now will prevent big repairs later. For a London living room or a Brighton flat, get those sharp edges, neat joints and a smooth skim. If a patch feels soft or cracks come back, check for damp or movement. Employ a professional for room refits or attempt a patch with consideration and the correct tools. Want to know which tools to choose and when to call in a specialist? Contact us for local tips!
Frequently Asked Questions
What tools does a plasterer need for a standard job?
What you will need as a plasterer:
- Hawk
- Stainless-steel trowels
- Mixing bucket
- Plastering float
- Spirit level
- Corner trowel
- Plaster mixer
Good tools speed up work and enhance finish.
How long does a plastering job typically take?
A single room renovation project, with one coat over prepped plaster walls, generally takes one to three days, depending on drying times and the plastering process's difficulty.
How do plasterers prepare walls before plastering?
During the plastering process, they clean surfaces and remove loose material, ensuring a smooth wall by applying a bonding agent or plastering mesh.
What does "setting" and "drying" mean in plastering?
Setting occurs during the plastering process when plaster chemically hardens, taking minutes to hours, while drying removes moisture and can take days to weeks, essential for a professional finish before decoration.
Can plastering be done in winter in the UK?
Yes, but for successful plastering, you need to keep rooms frost-free and ventilated. Use heat sparingly and don’t rush-dry, as this can lead to damaged plaster.
How will plastering affect my belongings and décor?
The plastering process is dusty and messy; however, with a step guide, you can prepare for disruption and ensure a professional finish.
When can I paint over new plaster?
Wait until the plastering process is complete and the plaster is dry, which often takes one to four weeks, before applying a mist coat or primer for a professional finish.